Post Production and Sharing
Editing
So, I’ve got Adobe Lightroom—why stray from the crowd? I also wanted it for the cataloguing functions it offers, in the vain hope that I will finally sort all the photos from the last 25 years into relevant libraries and get my backups squeaky clean. One day. Photoshop was not part of the order, figuring that I won’t need to be manipulating images any further. However, a few videos refer to focus stacking on landscape shots, and brief research tells me I will want to have Photoshop in order to do this—pinned for future consideration and research.
However, the editing process has been quite a bit of fun. Seeing what can be recovered from what appears to be a dull image is eye-opening. Some of these photos were so dark I didn’t think I’d be able to use them at all, but the RAW files offer enough information to bring them back from the dead—it’s great! Some images speak to me immediately, telling me what they need as soon as I open them. With others, I’ve been sliding the sliders to extremes just to see what they do and if I like the effect. Another technique is using the auto-edit feature to see what the program thinks I may need, then adjusting from those starting points to achieve the look I was after.
This process has given me a new appreciation for my original RAW files, and hopefully, I’ll be able to take this into consideration when shooting next time—knowing a little more about how I’ll likely process the images. The auto-correction profile for the 50mm lens is also a great touch, automatically applying corrections specific to the lens without me having to think about it. I believe that a lot of lenses have this built-in profile, but not all. I am yet to set up a lab-style test of my lenses to see exactly what I am working with, and I’m guessing that those lab-style tests will be able to transfer to custom lens correction profiles for any lenses that don’t have this feature built in.
The noise reduction feature has been used extensively on my images, which tells me that I am underexposing the images in general, or maybe I am just struggling with low-light conditions. I think I need an experienced photographer to assist here on a photo walk or workshop, highlight what the issues are, and whether I should be considering different settings. This setting also reduces sharpness, which isn’t helping with the majority of my images being slightly out of focus. Luckily I have just that planned with my Friend soon, fingers crossed for the conditions.
Workflow is starting to follow a pattern—not religiously—but I am now looking at the crop first, then hitting the Light, Colour, Detail, and Effects sections, usually in that order, with some variance as the image dictates, adjusting whatever is sticking out the most to me at that moment.
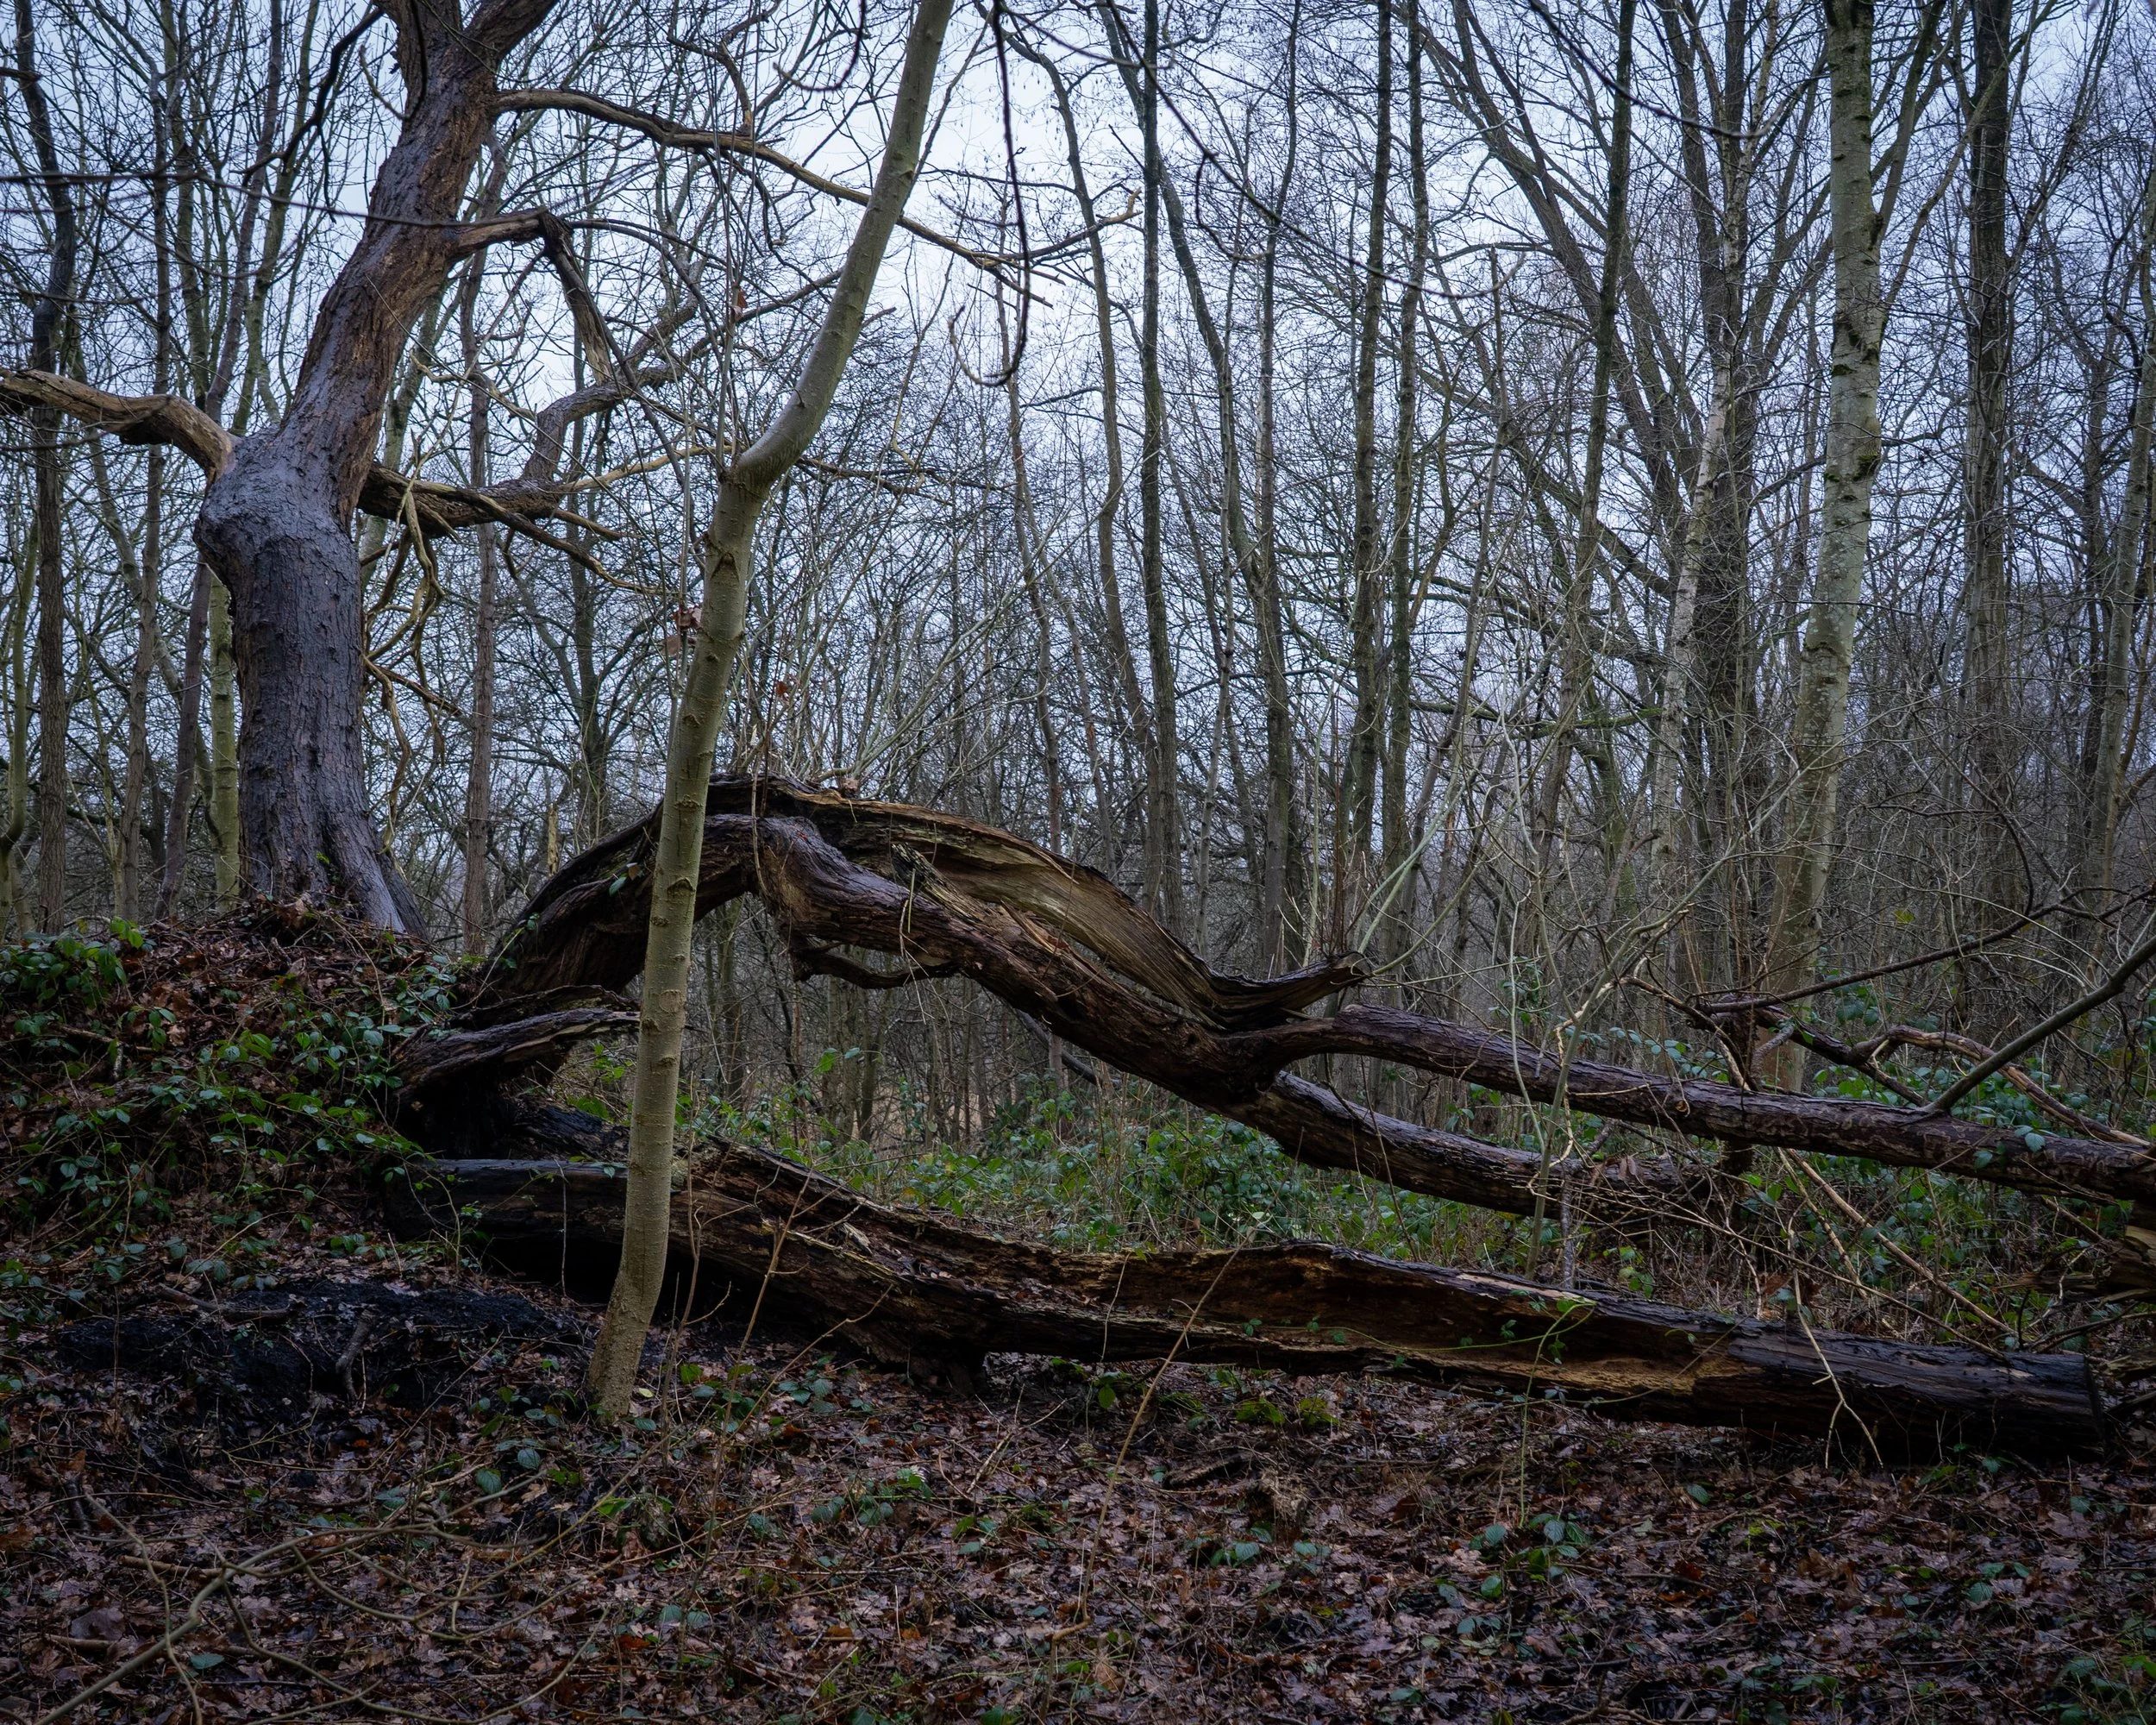
I have used the Remove function a few times on a couple of images. It feels like cheating, if I’m honest. However, either my fantastic composition skills or just general inconvenience have left things in the frame that throw it off. The L-shaped fallen tree from my first outing had a light-trunked thin tree right in front of it that just ruined the shot. A little experimentation later and, with it removed, the image went from scrap to passable—enough to continue editing and post for future reference. I like the overall composition and wonder if there is a chance I can improve on it in the future when I return. Other times, it is generally just to remove something that took up way too much attention or was particularly in the way. The generative fill is okay—don’t look too closely and you can get away with it, the eye passes over it—but any scrutiny and you can see there is something off. It generally lacks texture and focus—too smooth, but, it can be useful.
Item Removal
That tree really was in the way, so a little removal experimentation resulted in a less distracting image.
Another feature that has been put into play is the masking function. Selecting a custom area to work on independently definitely has its benefits. The shot of the bagel shop staff member in London had quite a dark subject, and with masking, I was able to tweak some of the edit to make her a little more prominent—brighter, enough to differentiate from the background a little more than as shot. It resulted in a more balanced image where the subject is actually visible, rather than the dark mess the RAW was in. I do feel that this feature will be paramount in some of my landscape shots in the future, balancing sky and ground elements with high contrast, and giving a greater degree of control overall.

Masking
This was minor adjustment, but masking the subject just so I could control highlights and other settings independantly, was enough to bring them out of the shadow and into the final image without fighting with the bright light in the back area.
Posting Online
A few of my photos have gone onto my Instagram—my personal account so far—but a dedicated photo page (Instagram - @struemanphoto) is currently being set up so I can separate general images from my personal ones. This has led to some limiting of crop choices and general hurdles before the post goes up. These choices have been easy on some images—the 5x4, 1x1, and 16x9 ratios have lent themselves to the image and not affected it much—but others, well, I want them to be cropped differently. More of a custom crop sometimes—maybe cutting something out of the image that ISN’T desirable, or maybe just extending to include more detail from another side, etc. The auto cropping I found with online posts wasn’t that desirable, and it felt like I had to compromise on the presentation of my image just to put it on Instagram. This will lead to more detailed edits with this in mind, and hopefully, the thought process whilst taking the image may keep this in mind. However, I am loath to take a photo specifically because it will look good on Instagram—it just doesn’t sit right. I think I would rather forego uploading the image altogether.
Which is, in part, how this website has come about. In order to record my journey via a blog, but also so I can display the images at their native crop size and not feel like I have compromised in this area. This means when I start getting images that are turning out exactly how I envisioned them, I can proudly display them somewhere I can share with others.
It will be interesting to see how this develops. Typically, I’m not a big social media person, so it feels a little alien to be having to consider it so much—and actually do it.